Monday, 20 May 2013

Perry's ACW Two Wheeled Ambulance

A while back my partner bought me the Perry's ACW Two Wheeled Ambulance, which looks like this before painting. 

The package consists of 1 assistant surgeon, 2 orderlies, 1 driver and 4 wounded.


This is towards my 28mm American Civil War project that I am building and will become part of my terrain features, more of which will follow in due course.
First of all I primed all the figures using Army Painter Navy Blue Colour Primer as I have made this part of my Union forces. I primed the ambulnace and the horse with a Brown.

After painting all the respective figures, ambulance and horse my partner, who actually builds terrain pieces for me, made me a base for these. This was made out of cork with all the appriopriate terrain coatings.

The finished article looks something like this. A selection of pictures.

 
I do hope you like these, any comments are welcome!
 
Cheers
Mike 


Tuesday, 5 March 2013

Bolt Action US M10 Tank Destroyer

At Christmas I received a 28mm Bolt Action US M10 Tank Destroyer for my American Infantry, which will be used in both my 'Bolt Action' and 'Operation Squad' games.


This is a 28mm model and comes supplied unassembled and unpainted. It includes the tank body itself, with an open-topped turret and 76mm gun. It also comes with a machine gun to mount on the turret and three crew members with the FIGURE HEAD Optional Head System, allowing you to choose which style head & helmet you want on which figure.

Here is the finished article (although I am still awaiting the decals to put on it)

Bolt Action US M10 Tank Destroyer
How I Constructed and Painted it!
 
The first thing to do was put all the pieces together:
This included mounting the top of the tank to the base and tracks, along with glueing the gun barrel to its mount.
Then came the decision on what heads I wanted on what figures. Once this was done and they were dry I then saw how the three crew members looked in the open-topped turret, not glued at this stage (explained later).
 
This gave me a completed tank ready for painting.
 
Now let's paint it
I then needed to prime my tank. For this I use Army Painter Colour Primers, a combination of Primer and Colour Spray in one. On most occasions I would use black for vehicles, however, I used 'Fur Brown' in this instance and would also use 'Uniform Grey', both of which I have found beneficial when coming to paint the lighter colours.
I then primed the crew members in the same way and painted them, using the 'Flames of War' guide for painting US Infantry. There will be a full description of how I did this in my forthcoming post on painting a US Infantry Bazooka Team.
 
One thing I have learnt, that I never used to do, is paint your men before glueing them into vehicles :). Its much easier and allows every area to be painted. Once done, we looked something like this:-
 
 
Then I gave the tank a whole paint job using MP (Miniature Paints) Deep Bronze Green, a colour I think works well for allied tanks.
All the usual things like tools and machine guns needed painting so I did all the neccessaries, wood brown and gunmetal grey respectively. Tank tracks were done using MP rust.
 Then came weathering, now then! Weathering and dry brushing is not something I consider myself to have been very good at in the past.

Tamiya weathering kit
Therefore, I decided to purchase some Tamiya Weathering Master kits and sticks.
There are a number of weathering master kits. I purchased several but the one here, which consists of snow, soot and rust, is the one I used on my tank.


Snow, Soot and Rust kit

The kits come in a pocket sized case with 3 colours and a special applicator tool. Details are as follows:
Weathering Master B SetItem No:87080
Snow (for winter camouflage and light snow)
Soot (for soot from exhaust pipes and gun barrels)
Rust (for rusting of AFV and boat hulls)


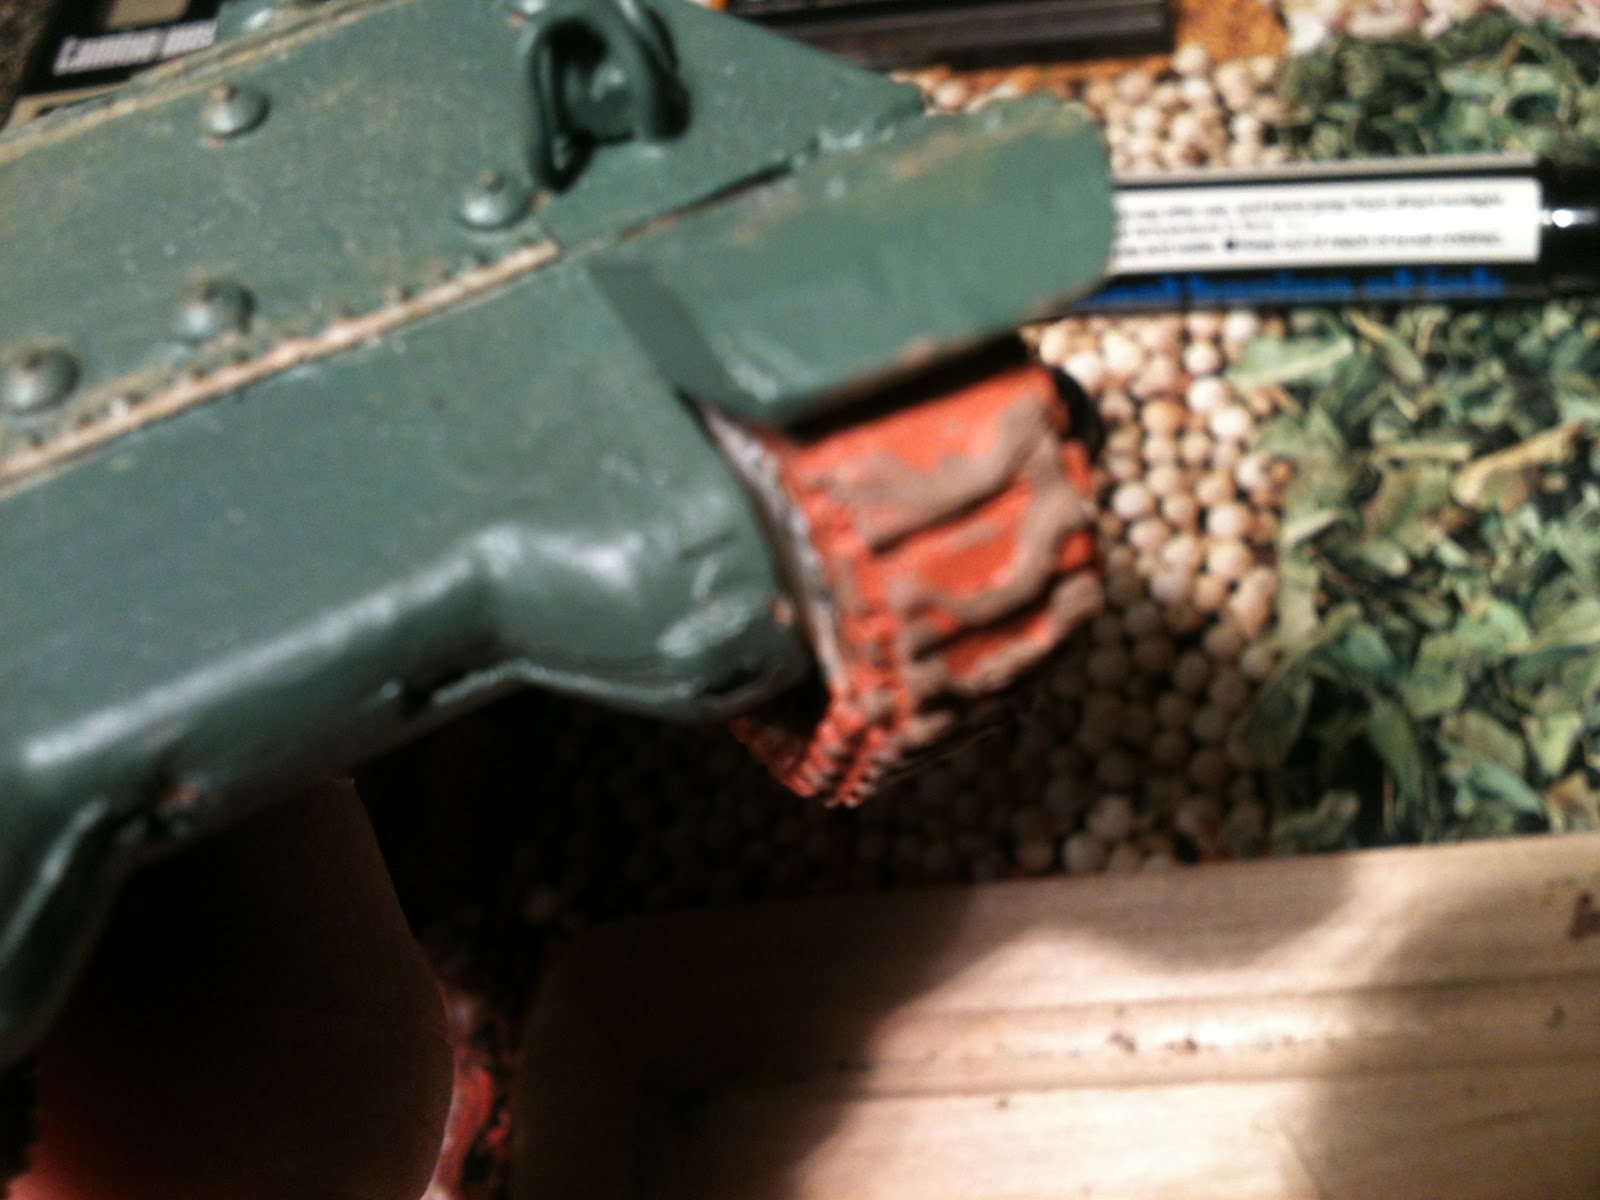
I used the soot to put on the end of my gun barrel and machine gun and I applied rust to things such as nuts and bolts, and any metal work areas that I think rust my have appeared. I added streaks between nuts and bolts as if water had made the rust run, as seen in both the pictures below.
 
The final bit of detail I wanted before varnishing, was some mud on my tracks etc. For this I, again, used a Tamiya product - the Weathering Stick.

Tamiya Weathering Stick
The Tamiya Weathering Stick is a pen-type tool advertised as "achieving realistic finishing effects on scale models, Perfect for depicting mud on tank treads". Details are: Weathering Stick (Mud)Item No:87081

I bought the Mud pen for use on my M10 Tank. Now that I have used it I consider this a good investment.

Here is the effect it had:
The Pen has a twist delivery system whereby the Mud stick is propelled from (or pulled back into) the dispenser. The Lid provides an air tight seal preventing the Mud from drying up. The Mud itself is sticky and clumpy but quite soft and is easy to apply.

I used the pen to put mud on the tracks of my latest Tank tracks, which shows them filled up with 'clods' of earth.

I have also purchased the following, which Im yet to use:
Weathering Master E SetItem No:87098 
Yellow (for WWII German dark yellow vehicles)
Gray (for WWII German gray vehicles)
Green (for WWII Allied green vehicles)
Weathering Stick (Light Earth)Item No:87087 
Light brown color depicts dried mud and can be used to create a more realistic finish on a wide variety of models.
  
Once again, I hope you have enjoyed this blog.

Many thanks for viewing, any comments are welcome!

That's all for now folks!
Mike 

Friday, 3 August 2012

4 Ground Damageable Long Walls

I purchased some 4 Ground terrain - Damageable walls. With these you get a choice of some walls, short walls or long walls. I decided to take advantage of buying the full set: 4 Ground Damageable Long Walls.


4 Ground Damageable Walls (Long) as supplied.

These are 28mm Scale models and come supplied unassembled and unpainted (as above). In this kit you get the following: (dimensions are approximates)

1 x Piece of Wall Section with Large Gate 6"
2 x Pieces of End Wall Section 1"
2 x Pieces of Wall Section 3"
4 x Pieces of Wall Section 6


These Damageable rendered walls are ideal cover for any last stand or obstacles to hinder movement. The render is missing in parts exposing removable stonework to enable you to show damage as it happens during the game.

How I painted them

I didn't need to prime any of the walls, I found that you can paint straight onto 4 Ground stuff.

The first thing I did was render the concrete on the walls (the creamyish colour). For this I used 'Basetex' Dried Earth, which is a mixture of paint and very fine sand. I felt that this gave it a good 'rough concrete' looking wall. Then I painted it a mixture of Coffee/Cream.

Whilst this was drying I painted the brickwork. For this I used an MP Chestnut for the main brickwork, some Red brick thrown in here and there. The gaps in the bricks was filled using MP Black Ink, which was also used in the gaps between the concrete and the bricks. I also used the Black Ink for various holes that appeared in the concrete.

The larger bricks for the gate work were painted with MP Porcelain Blue. To get the 'worn look' on all these areas I painted lightly over with a GW Devlin Mud.

Next came the bases. First I used a mixture of Earth Brown and Chocolate Brown, only a slight element of CB, to get the muddy look on the ground. I didn't paint this on I 'scribbled it' so that it was not so harsh. Meaning the brush was on its side...

Finally, I selected various areas of the ground to glue the grass to, and on one piece, some stones. I felt the art of this was not to do it the same on every piece, although grass nearer the wall.

Normally my partner builds, makes and does all my terrain for me (what a lucky chap I am:)), but I felt I could do these... and enjoyed the process and seeing the end results.

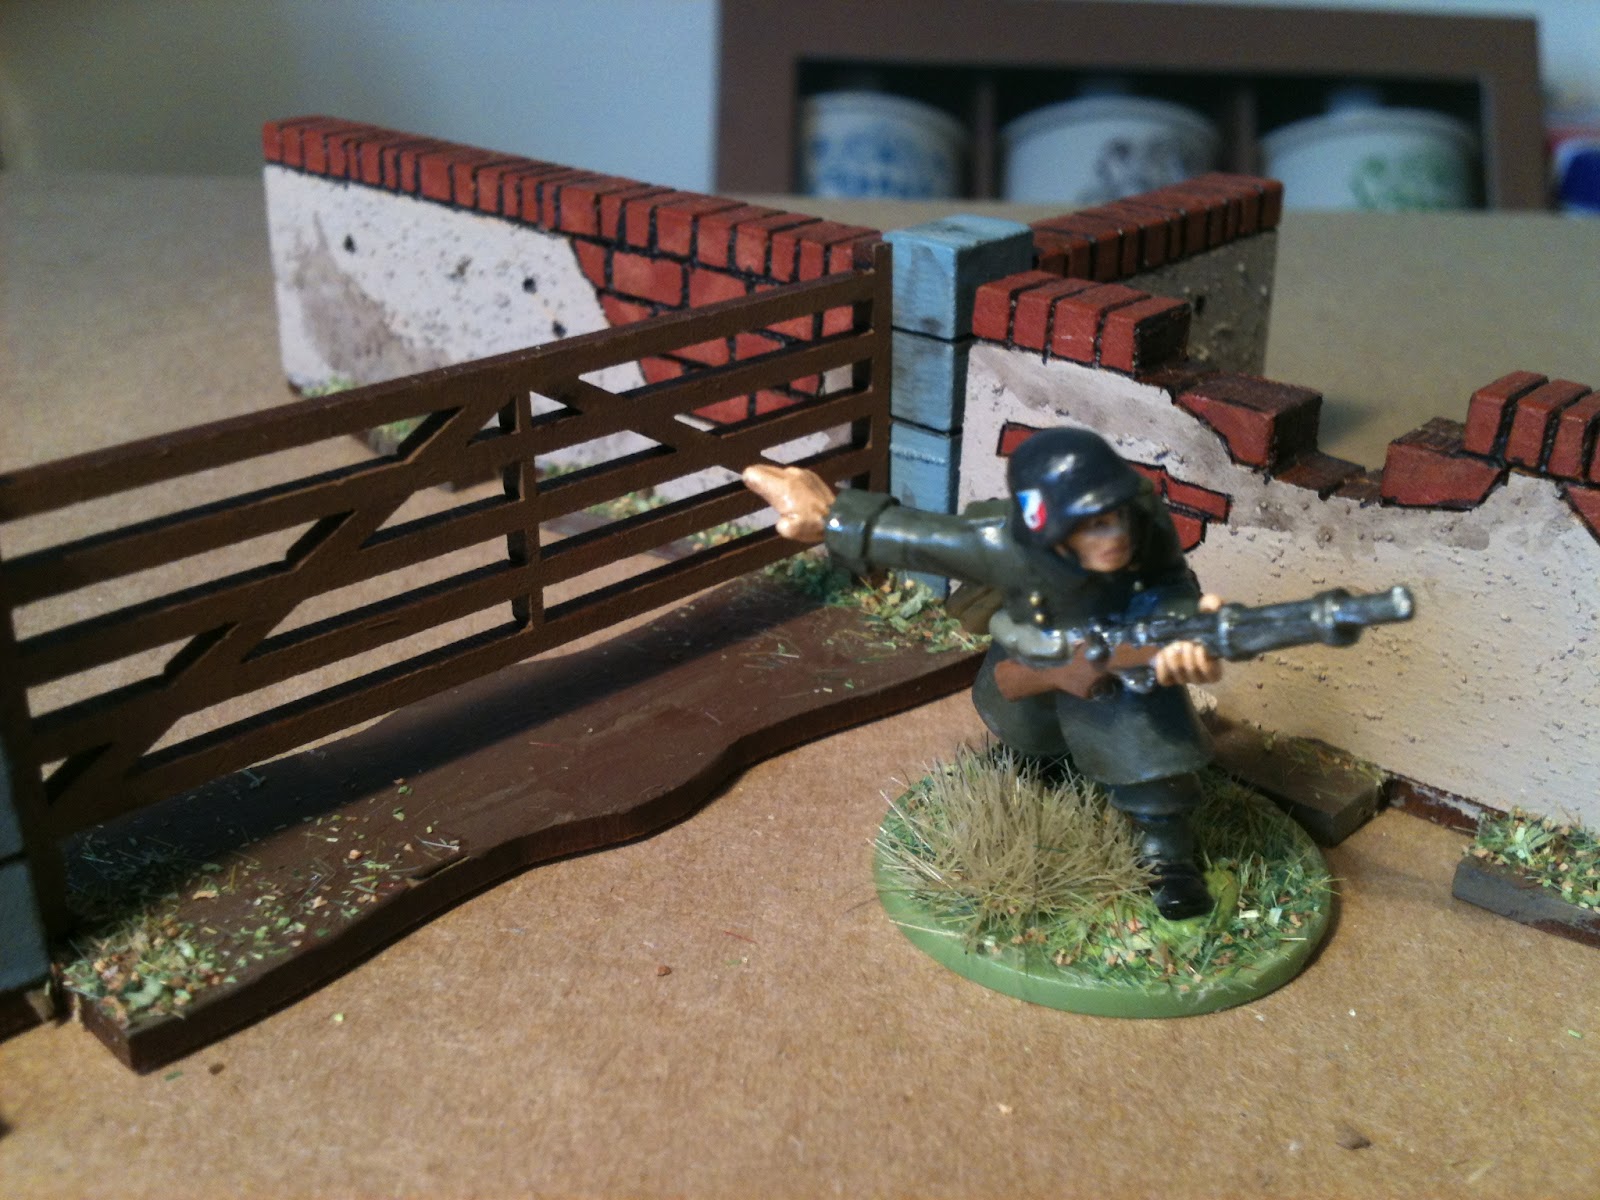
Some extra pictures of the finished walls.

With a German Infantryman to give you an idea of how these look.
 
 I hope you like these.

Thanks for viewing
Mike

Thursday, 26 July 2012

Foundry's Berdan Sharpshooters

To build on my 28mm ACW collection I purchased some of Foundry's Berdan's Sharpshooters  (code:CW101) to add to my Union forces.

Here is a group shot (in line) of the two groups.
... and in march column...


The paints i used for these were a mixture of 'Miniature Paints' and 'Vallejo'.
Colours i used were as follows (all Miniature Paints unless stated V):

Jackets -
Dark Green

Trousers -
Dark Green / Porcelain Blue
Hats (kepi) -
Dark Green / Black (V)
Hats
Leather (V)/Chestnut  Brown
Canteen -
Powder Blue
Canteen Strap -
White (V)
Other Straps/Belts -
Black (V)
Rifles -
Brown & Gunmetal Grey (both V)
Buckles etc -
Brass (V)
Skin -
Flesh & tanned flesh

all of these were then washed with a GW Devlin Mud.

... further images.


Hope you have enjoyed these. More ACW forces to come!

Friday, 20 July 2012

WILD WEST: Artizan Lawmen - The Earps

'WILD WEST' : Artizan Lawmen - The Earps

I recently purchased a set of Artizan's 28mm Lawmen - The Earps as i'm about to enter into the world of the 'Old West'. In a period I was so keen on as a youngster, this is something that has passsed me by so far in the world of wargaming. Therefore I started by purchasing these figures and after numerous deliberations on which set of rules, eventually I brought the highly recommended 'Rules With No Name'.

Let's start with a nice group photo then. Centrally, we have the main man himself, Wyatt, with brothers Virgil (left) and Morgan (right).


A close up of Wyatt.


and Virgil...


and Morgan...


another group picture.

I must point out that the basing on these is not the best as I had initially based them in a grass environment rather than a desert one and therefore need to perhaps make some changes :).

Also, I'm looking at ways to better improve the photography of my figures.

However, despite these few factors, as always, any comments are welcome.

More Wild West to follow shortly - Some 'Hired Guns' and some Banditos/Mexicans'.

Thanks for viewing
Mike


Monday, 19 March 2012

Zouaves - Louisiana Tigers

Here is my latest project. I fancied some Zouaves for my ACW so I purchased a small amount of Perry's to see if i liked the idea.

I have painted these as Louisiana Tigers to assist my Confederate Army. Think these look ok. :)

 
Thanks for viewing, usual comments, if any.
Cheers
Mike

Thursday, 8 March 2012

Artizan US Infantry

Here is my latest offering. Some Artizan US Infantry.
These will be used for Operation Squad rules.
Apologies for some of the focus, taken with my phone!
The Squad as a whole.
The Command Group
The nonchalant Corporal
The Sniper!
We need a Medic! ... "Here I am"
Infantryman with Browning rifle

and ... a selection of infantryman with Garand rifles

As the norm, I always welcome your comments.
Thank you for viewing my blog, please return!
Mike