 At Christmas I received a 28mm Bolt Action US M10 Tank Destroyer for my American Infantry, which will be used in both my 'Bolt Action' and 'Operation Squad' games.
This is a 28mm model and comes supplied unassembled and unpainted. It includes the tank body itself, with an open-topped turret and 76mm gun. It also comes with a machine gun to mount on the turret and three crew members with the FIGURE HEAD Optional Head System, allowing you to choose which style head & helmet you want on which figure.
Here is the finished article (although I am still awaiting the decals to put on it)
 |
| Bolt Action US M10 Tank Destroyer |
How I Constructed and Painted it!
The first thing to do was put all the pieces together:
This included mounting the top of the tank to the base and tracks, along with glueing the gun barrel to its mount.


Then came the decision on what heads I wanted on what figures. Once this was done and they were dry I then saw how the three crew members looked in the open-topped turret, not glued at this stage (explained later).


This gave me a completed tank ready for painting.
Now let's paint it
I then needed to prime my tank. For this I use Army Painter Colour Primers, a combination of Primer and Colour Spray in one. On most occasions I would use black for vehicles, however, I used 'Fur Brown' in this instance and would also use 'Uniform Grey', both of which I have found beneficial when coming to paint the lighter colours.
I then primed the crew members in the same way and painted them, using the 'Flames of War' guide for painting US Infantry. There will be a full description of how I did this in my forthcoming post on painting a US Infantry Bazooka Team.
One thing I have learnt, that I never used to do, is paint your men before glueing them into vehicles :). Its much easier and allows every area to be painted. Once done, we looked something like this:-


 Then I gave the tank a whole paint job using MP (Miniature Paints) Deep Bronze Green, a colour I think works well for allied tanks.
 All the usual things like tools and machine guns needed painting so I did all the neccessaries, wood brown and gunmetal grey respectively. Tank tracks were done using MP rust.
Then came weathering, now then! Weathering and dry brushing is not something I consider myself to have been very good at in the past.
 |
| Tamiya weathering kit |
There are a number of weathering master kits. I purchased several but the one here, which consists of snow, soot and rust, is the one I used on my tank.
 |
| Snow, Soot and Rust kit |
The kits come in a pocket sized case with 3 colours and a special applicator tool. Details are as follows:
Weathering Master B SetItem No:87080
Snow (for winter camouflage and light snow)
Soot (for soot from exhaust pipes and gun barrels)
Rust (for rusting of AFV and boat hulls)
I used the soot to put on the end of my gun barrel and machine gun and I applied rust to things such as nuts and bolts, and any metal work areas that I think rust my have appeared. I added streaks between nuts and bolts as if water had made the rust run, as seen in both the pictures below.


The final bit of detail I wanted before varnishing, was some mud on my tracks etc. For this I, again, used a Tamiya product - the Weathering Stick.
| Tamiya Weathering Stick |
I bought the Mud pen for use on my M10 Tank. Now that I have used it I consider this a good investment.
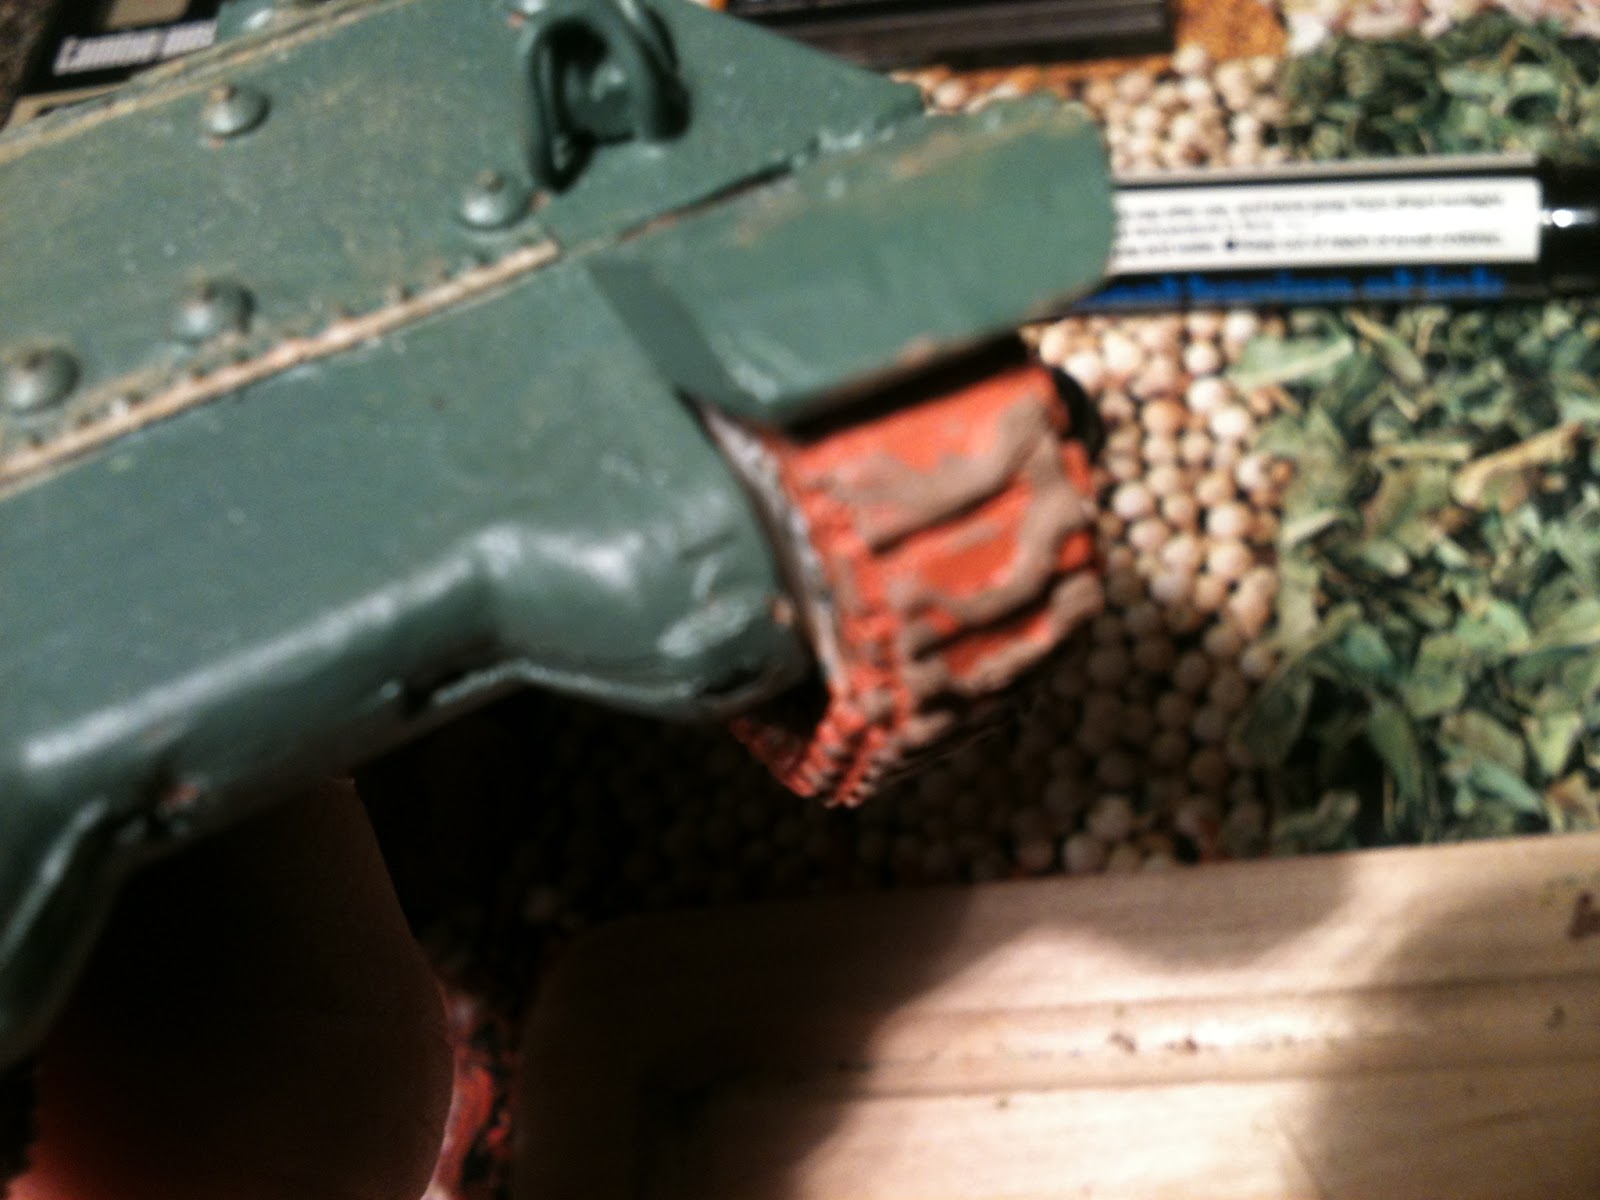 Here is the effect it had:
The Pen has a twist delivery system whereby the Mud stick is propelled from (or pulled back into) the dispenser. The Lid provides an air tight seal preventing the Mud from drying up. The Mud itself is sticky and clumpy but quite soft and is easy to apply.
I used the pen to put mud on the tracks of my latest Tank tracks, which shows them filled up with 'clods' of earth.
I have also purchased the following, which Im yet to use:
Weathering Master E SetItem No:87098
Yellow
(for WWII German dark yellow vehicles)
Gray (for WWII German gray vehicles)
Green (for WWII Allied green vehicles)
Weathering Stick (Light Earth)Item No:87087
Light brown color depicts dried mud and can be used to create a more realistic finish on a wide variety of models.
Gray (for WWII German gray vehicles)
Green (for WWII Allied green vehicles)
Weathering Stick (Light Earth)Item No:87087
Light brown color depicts dried mud and can be used to create a more realistic finish on a wide variety of models.
Many thanks for viewing, any comments are welcome!
That's all for now folks!
Mike
No comments:
Post a Comment