Showing posts with label Terrain. Show all posts

Monday, 20 May 2013

Perry's ACW Two Wheeled Ambulance

A while back my partner bought me the Perry's ACW Two Wheeled Ambulance, which looks like this before painting. 

The package consists of 1 assistant surgeon, 2 orderlies, 1 driver and 4 wounded.


This is towards my 28mm American Civil War project that I am building and will become part of my terrain features, more of which will follow in due course.
First of all I primed all the figures using Army Painter Navy Blue Colour Primer as I have made this part of my Union forces. I primed the ambulnace and the horse with a Brown.

After painting all the respective figures, ambulance and horse my partner, who actually builds terrain pieces for me, made me a base for these. This was made out of cork with all the appriopriate terrain coatings.

The finished article looks something like this. A selection of pictures.

 
I do hope you like these, any comments are welcome!
 
Cheers
Mike 


Friday, 3 August 2012

4 Ground Damageable Long Walls

I purchased some 4 Ground terrain - Damageable walls. With these you get a choice of some walls, short walls or long walls. I decided to take advantage of buying the full set: 4 Ground Damageable Long Walls.


4 Ground Damageable Walls (Long) as supplied.

These are 28mm Scale models and come supplied unassembled and unpainted (as above). In this kit you get the following: (dimensions are approximates)

1 x Piece of Wall Section with Large Gate 6"
2 x Pieces of End Wall Section 1"
2 x Pieces of Wall Section 3"
4 x Pieces of Wall Section 6


These Damageable rendered walls are ideal cover for any last stand or obstacles to hinder movement. The render is missing in parts exposing removable stonework to enable you to show damage as it happens during the game.

How I painted them

I didn't need to prime any of the walls, I found that you can paint straight onto 4 Ground stuff.

The first thing I did was render the concrete on the walls (the creamyish colour). For this I used 'Basetex' Dried Earth, which is a mixture of paint and very fine sand. I felt that this gave it a good 'rough concrete' looking wall. Then I painted it a mixture of Coffee/Cream.

Whilst this was drying I painted the brickwork. For this I used an MP Chestnut for the main brickwork, some Red brick thrown in here and there. The gaps in the bricks was filled using MP Black Ink, which was also used in the gaps between the concrete and the bricks. I also used the Black Ink for various holes that appeared in the concrete.

The larger bricks for the gate work were painted with MP Porcelain Blue. To get the 'worn look' on all these areas I painted lightly over with a GW Devlin Mud.

Next came the bases. First I used a mixture of Earth Brown and Chocolate Brown, only a slight element of CB, to get the muddy look on the ground. I didn't paint this on I 'scribbled it' so that it was not so harsh. Meaning the brush was on its side...

Finally, I selected various areas of the ground to glue the grass to, and on one piece, some stones. I felt the art of this was not to do it the same on every piece, although grass nearer the wall.

Normally my partner builds, makes and does all my terrain for me (what a lucky chap I am:)), but I felt I could do these... and enjoyed the process and seeing the end results.

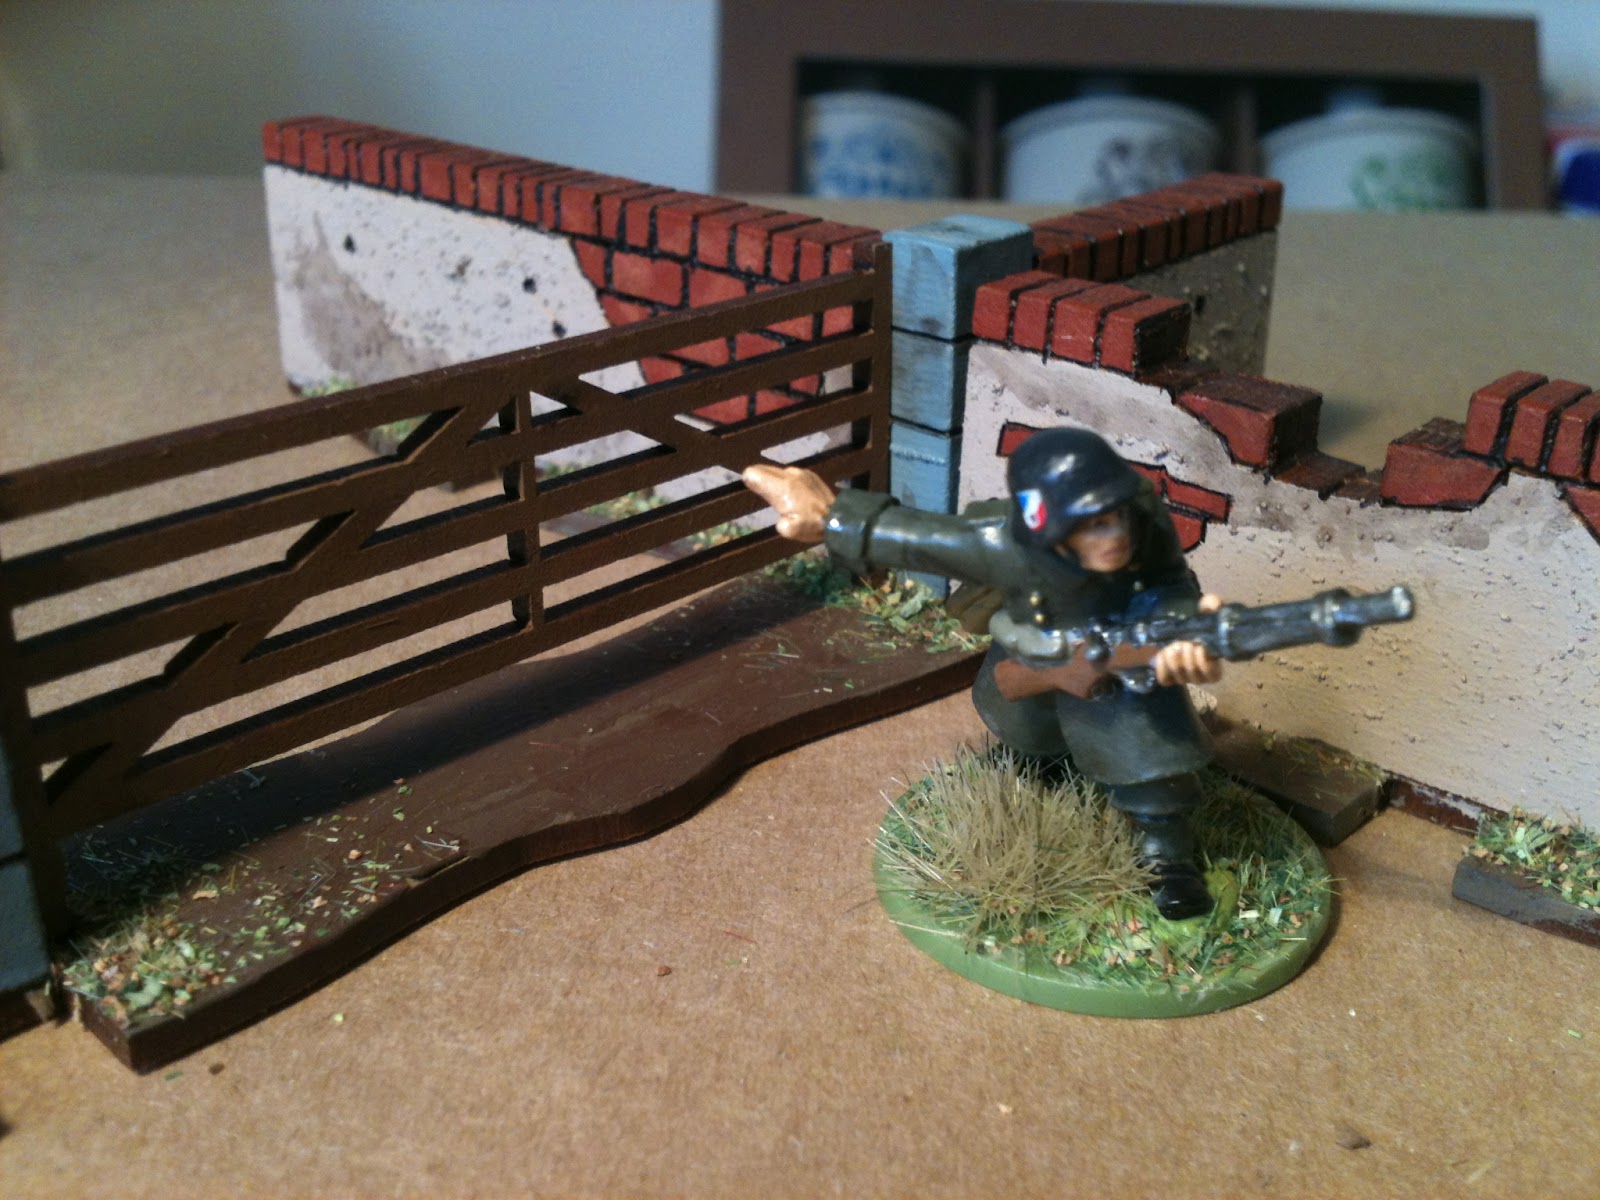
Some extra pictures of the finished walls.

With a German Infantryman to give you an idea of how these look.
 
 I hope you like these.

Thanks for viewing
Mike